
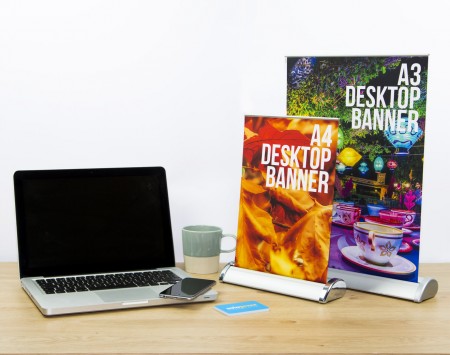
Keen to try your hand at designing your own roller banner? Perhaps you’re preparing for a trade show or networking event, and want to put your own touch on every aspect of your display. While most printers will offer design service as part of producing your roller banner, some people still prefer to do the artwork themselves. If that sounds like you – go for it! Develop some new skills, find success with designing your own roller banner and you’ll gain a great sense of accomplishment.
Selecting Software
The most important aspect to consider when beginning the design process is considering which software to use. Most of us have Microsoft Word on our computers, and for many people it seems like a suitable choice; an “all purpose” program. Beware of falling into this trap. While you can create designs in Word, it doesn’t mean you should. You’ll have far fewer options for creating a stunning design. Worst of all, the program simply won’t let you produce graphics of a high enough quality to be suitable for print.
Adobe Photoshop or Illustrator are your best bets, and a worthwhile investment if you foresee yourself working with design or photography again in the future. However, if your budget doesn’t allow for it, you may want to consider one of several excellent, free alternatives, such as the ones we’ve featured in this tutorial video:
New users of Photoshop and Illustrator may also experience a learning curve that is slightly daunting for some; if that’s you, you may also find a free alternative a more accessible option.
Planning Layout
Now that you’ve selected what software to use for designing your own roller banner, it’s time to start laying it out. Begin by dividing your banner into sections. The top section of a roller banner typically features a company logo, as well as their name if it isn’t included within the logo. It’s also a great place to position a core message or company slogan or tagline. Nearest eye level, it will receive the most attention. The top section is the place where you want to make it immediately obvious what your business is and does. In the middle of the roller banner, you can incorporate the meat of your message or design. It’s the place to expand on the top; however, a balance must be struck between wordiness and vagueness.
When designing your own roller banner, you don’t want to clutter it with too much reading, or leave it too empty and ambiguous. Finally, the bottom section of your roller banner is the ideal spot for some brief contact information. Perfect to include here are your website address and social media icons. Again, provide the basics of what people need to get ahold of you, but not so much that they’re overwhelmed. If you could use some extra assistance with creating your roller banner, we’ve put together this tutorial video that guides you step by step through designing one in Photoshop:
Considering Design Elements
Make sure to incorporate high quality imagery as well as words in your roller banner layout. They should be high resolution images – ideally at least 300 dpi. Furthermore, you’ll be best to use CMYK colours, as compared to RGB, as they’re print ready. Computer screens display in RGB, and the two are slightly different. It’s wise to ensure that the colours and fonts you use coordinate well with your company’s logo and overall branding, to make it recognisable and consistent.
Finally, choose no more than 3 fonts for use in your overall design, as any more could look messy. All text should be easily readable against your chosen colours and design; keep in mind that people are going to be glancing at roller banner quickly in a busy exhibition hall or conference facility, so they should be able to take in the core information without having to “work for it” or linger too long.
With these guidelines in mind, you’re well on your way to creating a roller banner that is uniquely your own. Of course, should the time come that you want to swap that graphic out for something else, we can assist you with that process as well:

This will be my guide to things I need to look out for when designing my next roller banner. Thanks!
Found this through the competition page and genuinely found this really helpful! Happy holidays!