
Learn how to design a Neon Poster in Adobe Photoshop with our easy to follow tutorial.
Set Up
Head over to solopress.com and grab a free template guide as a base for your poster. 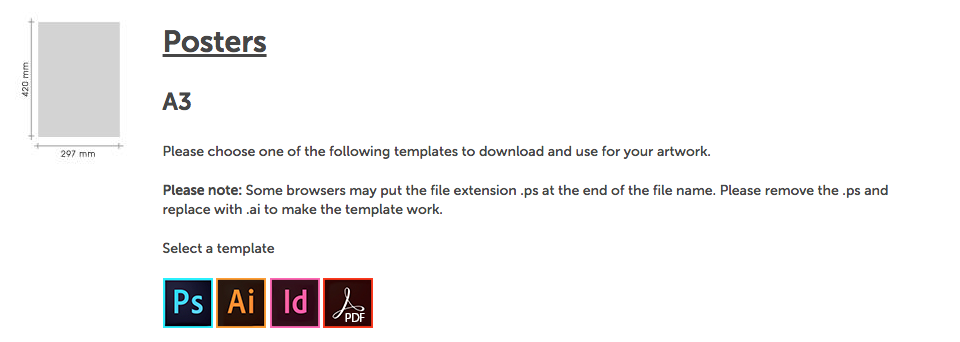
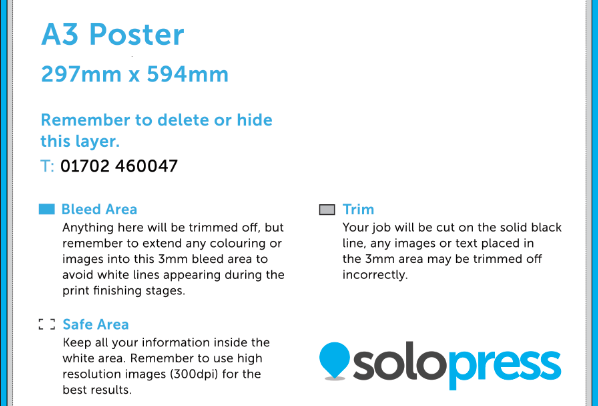
When you open the file you will see that we have created two layers, one with our bleed, trimming and safe areas marked out and another layer for you to start creating your artwork over the top.
Bleed Area – Anything here will be trimmed off, but remember to extend any colouring or images into this bleed area to avoid white lines appearing during the print finishing stages.
Trim – Your job will be cut on the solid black line, any images or text placed in this area may be trimmed off incorrectly.
Safe Area – Keep all your information insides the white area. Remember to use high-resolution images (300dpi) for the best results.
Once the file is open it is recommended that you ensure that the rulers are visible in order to allow you to set up some guides to easily determine where the areas are as you go along.
You can show the rulers by pressing Command +R, once these are visible you can create a new guide by clicking and dragging on the vertical and horizontal Ruler until it is placed in the desired location. Please note that I have also placed guides running through the vertical and horizontal middle of the page to ensure that the design can be centralised with ease. These will be a 151.5mm for the vertical and 213mm for the horizontal.
Design
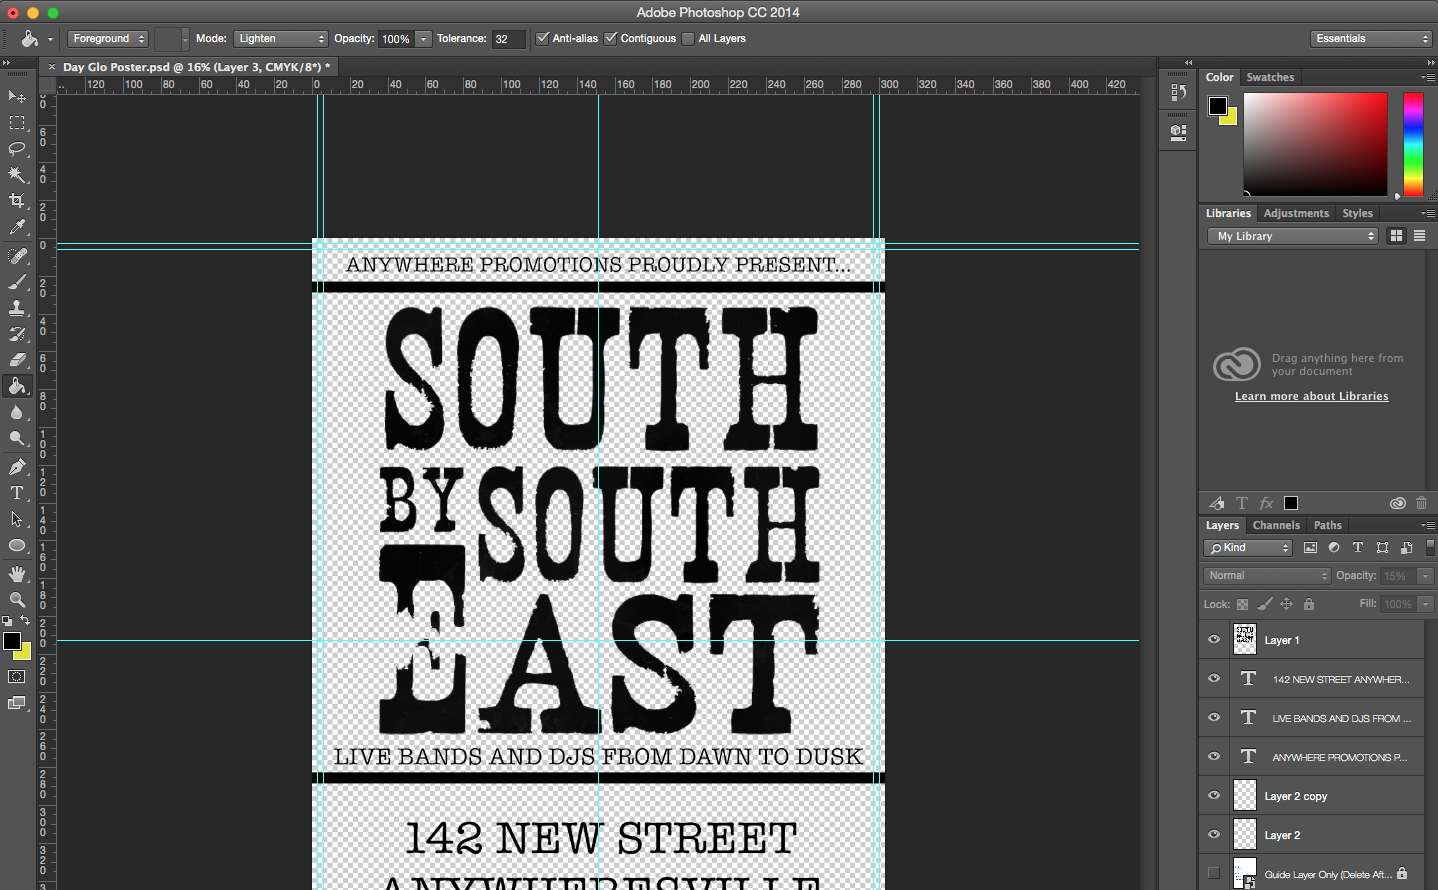
With the design there are no real rules so you can really be as creative as you’d like to be. It is worth keeping in mind that the Day Glo posters will be printed onto the coloured paper stock of your choice and white will not be printed, for this reason I would advise a single colour or monochrome design. Use of silhouettes can give a have a great impact on your design whilst remaining relatively simple.

On this occasion, I decided to opt for a text only poster. I started by inserting the company logo onto a new layer. This was done by clicking Layer>New>New Layer and then pasting my logo onto the new layer.
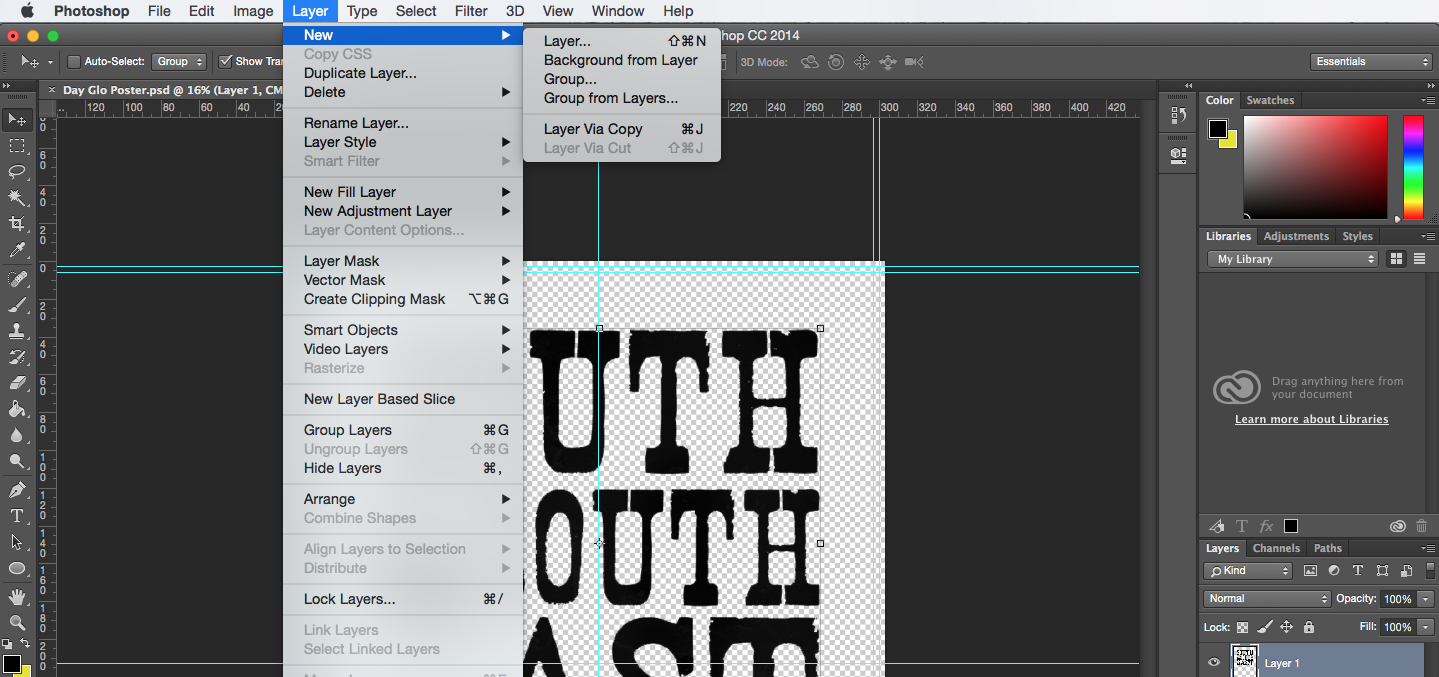
This was then followed by adding additional information by using the ‘T’ Text icon on the left hand toolbar. Each time it is used, it will create a new layer of text.
I then used the square selector tool to draw some rectangular shapes on new layers to give the logo some separation from the rest of the design. These were filled in black using the paint bucket tool.
After everything is complete, I finally delete the template layer and save the project as a PDF.
For the next steps in getting your posters printed, head straight over to Solopress.com
Why Not Create Your Own?
Our brand new Day Glo Posters are a perfect way to make your transform your message and make it matter with a vibrant, instantly unmissable look.


