
Spring is upon us, which means the Chelsea Flower Show is just around the corner! Here at Solopress HQ, we have taken some inspiration from this special event and created a stunning floral typography Photoshop tutorial for you. This popular design technique really stands out and can be used in your upcoming spring/summer campaigns. Let’s get started!
This design can be used effectively for flyers, postcards and posters! At Solopress, we offer all these products and more at amazing prices with free UK delivery!
Tutorial Assets
- Cocogoose font
- Bouquet of beautiful flowers (Large)
- Paper Grain Texture by JustinBHB
Creating a New Document
Step 1
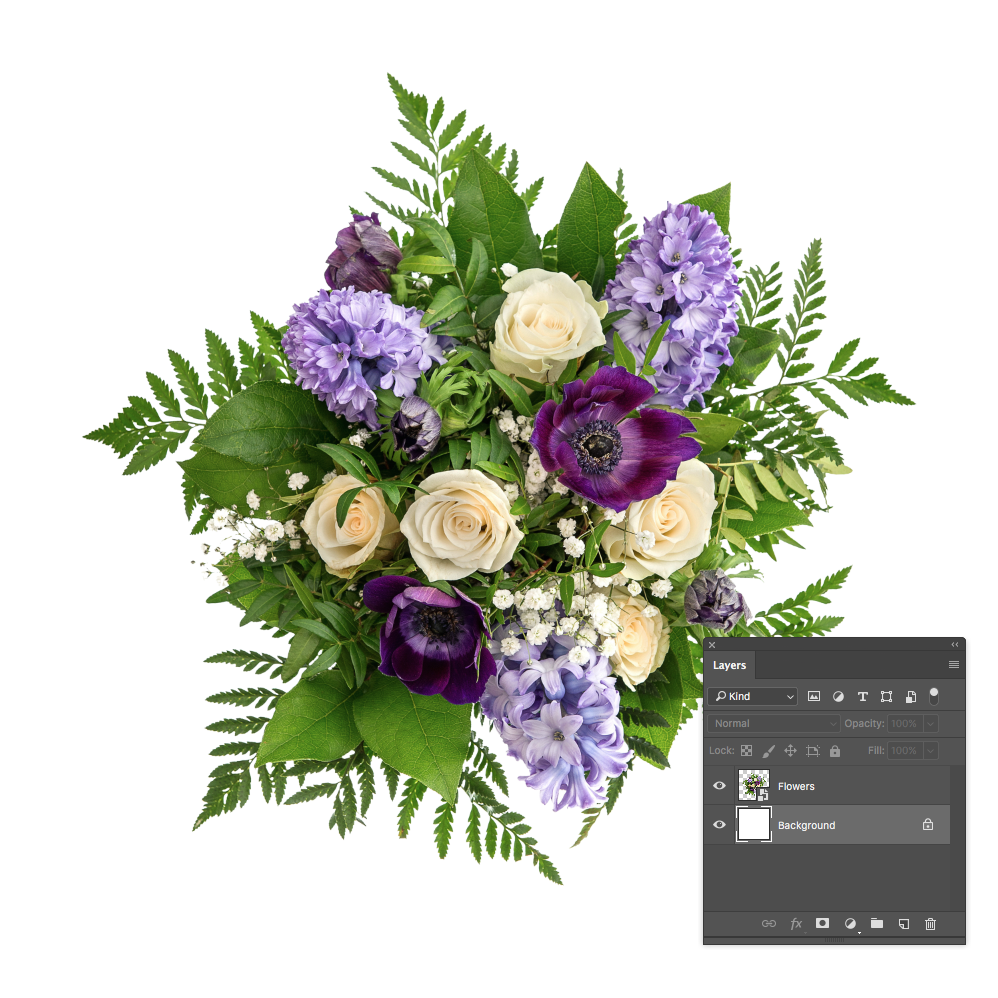
Create a new canvas in Photoshop. Here, I have used a 3000 x 3000 px document at 300dpi. Place your image of choice on top of the Background layer – for clarity we renamed this layer “Flowers”.
Step 2
Duplicate the Flowers layer and add layer mask. To do this, right click the layer and select duplicate, and then click the Add layer mask icon at the bottom of the Layers panel.
Make sure that the layer mask thumbnail is selected, and fill it with Black (Alternatively, you can invert the layer mask using Command/Ctrl + i).

Create the Text
Step 1
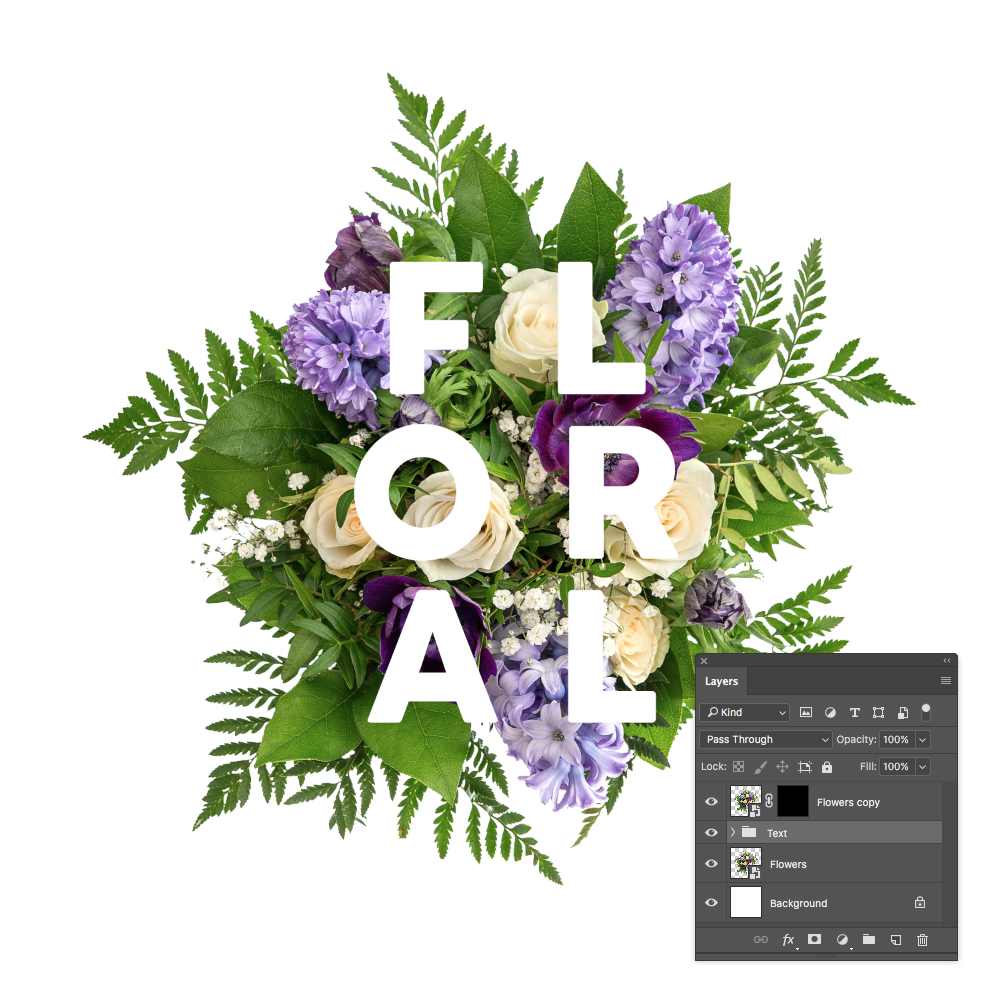
Create the text using any font and colour of your choice – here I have opted for white text, using the font Cocogoose. Personally, I think the bigger and bolder the text the better, but it all depends on what outcome you are looking for.
Step 2
Group the text layers you have and call the group Text. Then, place that group between the two Flowers layers.
Step 3
Lower the Opacity of the Text layer, so that you are able to see both the text and the background image details clearly.

Paint the Front Floral Parts
Step 1
Make sure that your foreground colour is set to white and background colour set to black. To adjust these colours, simply click on their respective boxes and select the desired colour.
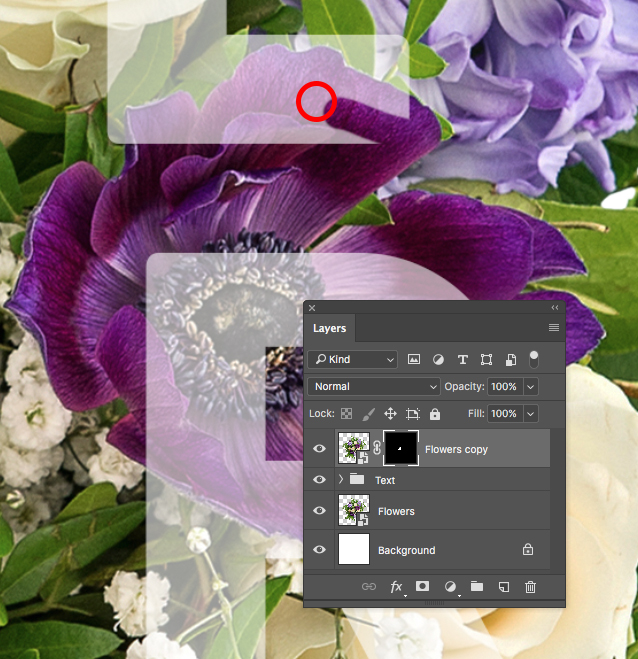
Pick the Brush Tool (B), set the Foreground Colour to White, and pick a hard round brush tip. I usually have the hardness set to around 80% – 95%.
Click the Flowers copy layer mask’s thumbnail to select it, and then start painting over the parts you want to have in front of the text.
Step 2
If you have accidentally made a mistake, you can simply unpaint the desired area, you just need to set the Foreground Colour to black and unpaint those areas.
Use the X key to switch between the Foreground and Background colours.
Step 3
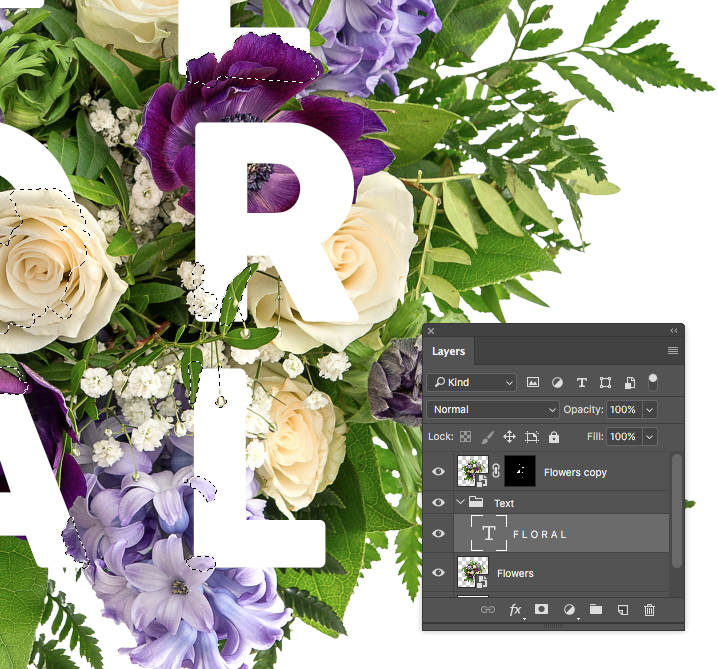
Once you’re done, set the Text group’s Opacity to 100% again, and check how everything looks to see if you like it. If there are any bits you missed, simply repeat the process above.
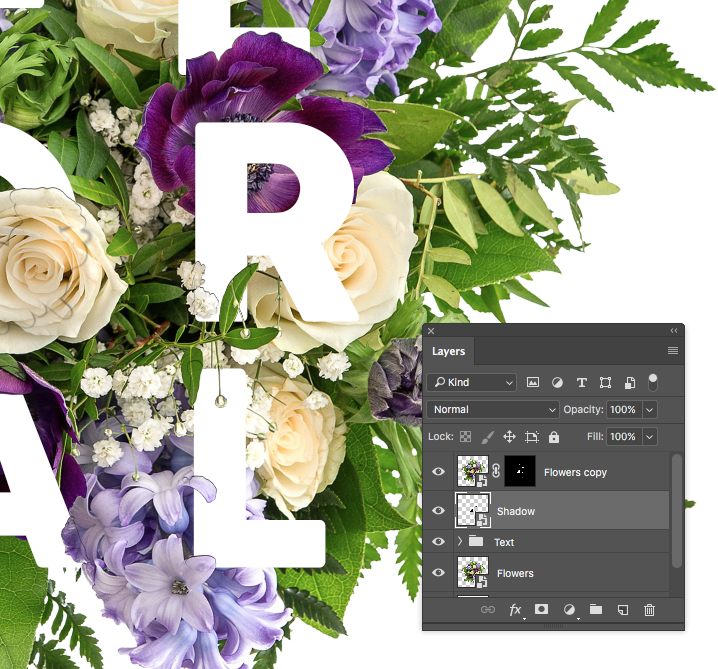
Create the Shadow
Step 1
Command-click the Flowers copy layer mask’s thumbnail to create a selection.
Step 2
Create a new layer on top of the Text group, and call it Shadow.
Pick the Paint Bucket Tool, uncheck the Contiguous box in the Options bar, and fill the selection with black.
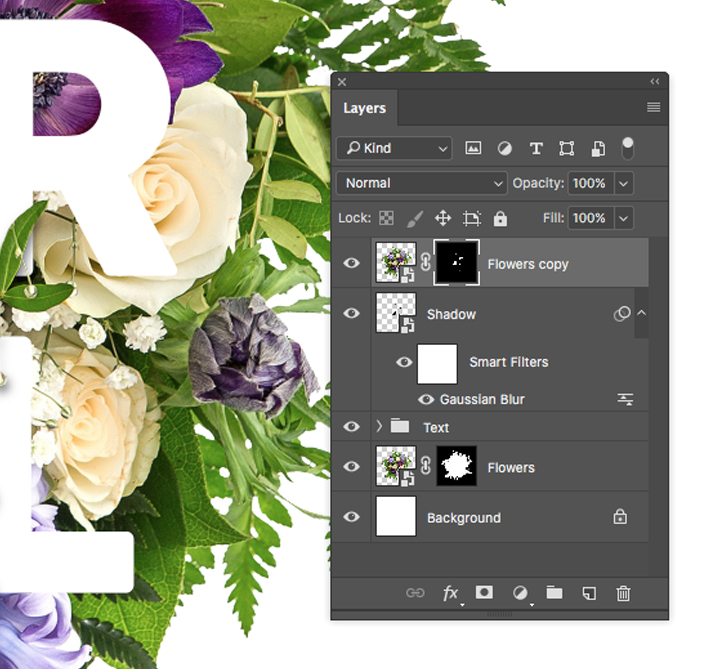
Right-click the Shadow layer and choose Convert to Smart Object.
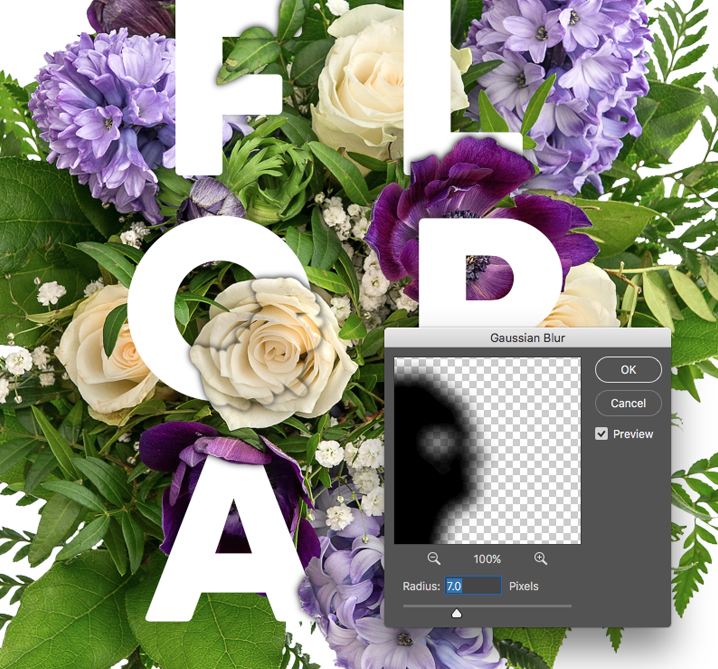
Step 3
Go to Filter > Blur > Gaussian Blur, and set the Radius to 7.
Step 4
Use the Move Tool to nudge the shadows slightly downward.
You’ll notice the shadow appearing randomly in some of the erased parts. To fix this, you need to paint those parts in (un-erase them).
So pick the Brush Tool, select the Flowers copy layer mask, set the Foreground Colour to white, and paint over the parts you want, to cover the shadow.

Step 6
Once you’re done, change the Shadow layer’s Blend Mode to Multiply and its Opacity to 50%. Experiment with different opacities here to get the best result for your image.
Remove the White Background
Step 1
Pick the Magic Wand Tool, uncheck the Contiguous box in the Options bar, and then click the white area to select it.
Step 2
Go to Select > Inverse, and add a layer mask to hide the white background.
Step 3
Select the white area again (the empty part now on the Flowers image), then click the Flowers copy mask, and fill the selection with Black.
Go to Select > Deselect.
Add the Background Gradient Fill
Step 1
Duplicate the Background layer.
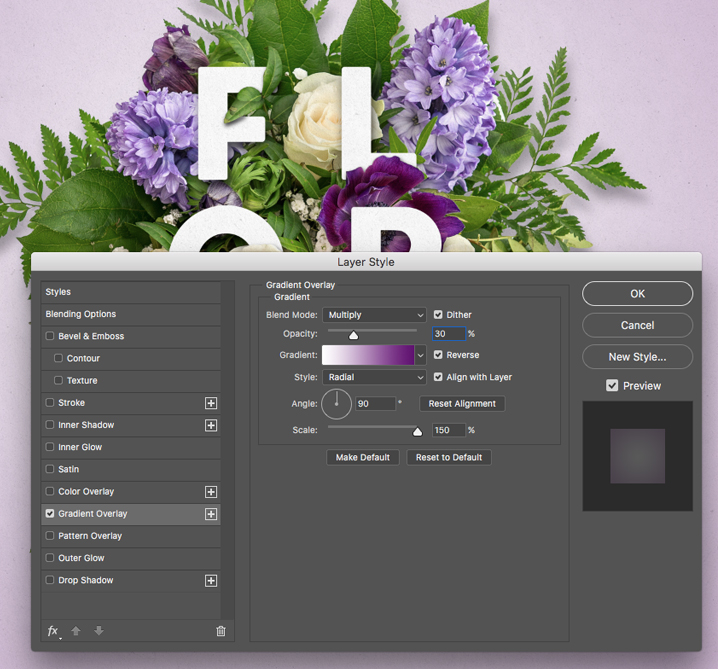
Step 2
Double-click the Background copy layer to apply a Gradient Overlay effect with these settings:
- Check the Dither box
- Opacity: 30%
- Style: Radial
- Scale: 150%
Use any gradient fill you like.
Add the Texture and a Final Adjustment Layer
Step 1
Place the Paper Grain Texture image on top of all layers, and resize it as you like. Then change its layer’s Blend Mode to Multiply and its Opacity to 50%.
Congratulations! You’re Done.


