
Learn how to design a baby shower invitation in Adobe Photoshop with our expert, easy-to-follow video tutorial.
This video is part of our Adobe Creative series of design tutorials. Please make sure to subscribe to the Solopress YouTube channel so you don’t miss out on future guides!
Watch The Video Tutorial Here:
Music: “Golden Sunrise (Instrumental Version)” by Josh Woodward (http://www.joshwoodward.com/)
Let’s Get Started!
If you are using our downloadable content pack, install the font pack now.
Open the Solopress A5 Flyer Template. This includes the bleed area, trim and safe area. Because this is going to be a landscape invitation, flip the canvas by going to Image > Image Rotation > 90º clockwise. Alternatively you can make the invitation in portrait.
Please note:
Bleed Area – anything here will be trimmed off. Remember to extend any colouring or images into this bleed area to avoid white lines appearing during the print finishing stages.
Trim – Your job will be cut on the solid black line, any images or text placed in this area may be trimmed off incorrectly.
Safe Area – Keep all your information insides the white area. Remember to use high-resolution images (300dpi) for the best results.
Create a new guide by clicking and dragging on the vertical and horizontal Ruler (if your Ruler does not appear in Photoshop press Command + R)
Create 8 new guides on the safe area line. In this video I have created 2 lines that run through the centre vertically and horizontally. Using the smart guides in Photoshop CC the guide lines should snap to the centre.
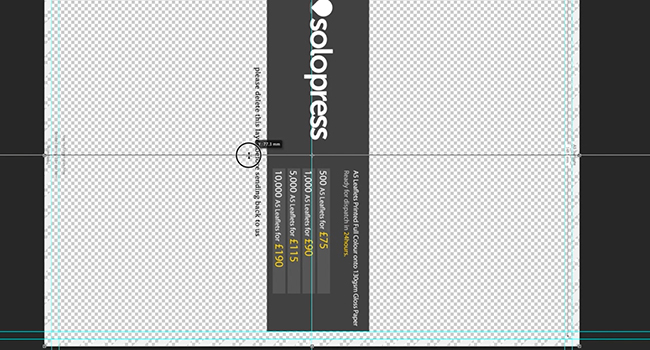
Once this is done, delete the template layer as you will not need it anymore.
Laying Our Base
I’ve pre designed a background for the invitation using a chevron pattern, to insert this simply drag it in from your Explorer or Finder windows. Alternatively you can add a solid colour for the background by going to Layers > New Fill Layer > Solid Fill.
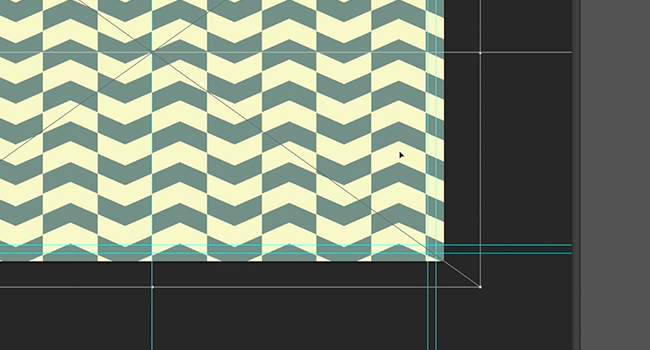
I’ve also pre designed a badge for the writing on the front. However you can make your own by using any shape from the Shapes Tool. To make the stitched outline simply change the stroke settings to dashed on your shape and turn off the fill colour.
![]()
Text And Detail
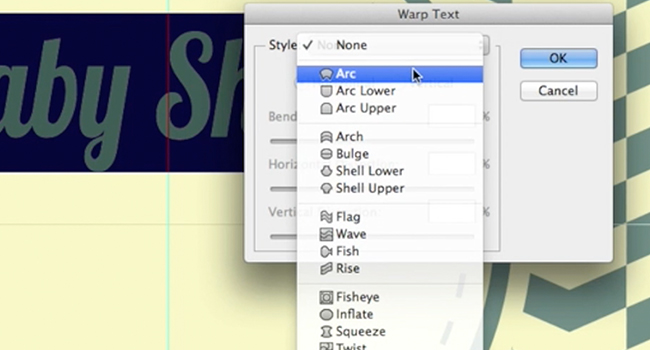
To start writing text on the invitation, select the Text Tool from the Tool Bar. You can click anywhere and start typing as your text can be moved afterwards. For the title we are going to write Baby Shower. We want this to appear as big as it can in the badge, but we should curve it to the shape to give it a little more charm.
Select Create Warped Text from the Text Bar at the top. In this menu there are numerous ways to warp your text, for this we are going to select Arc. You can choose the amount that corresponds to you badge. This function squashes your text however so increase the length percentage of the text using the Character Pallet.
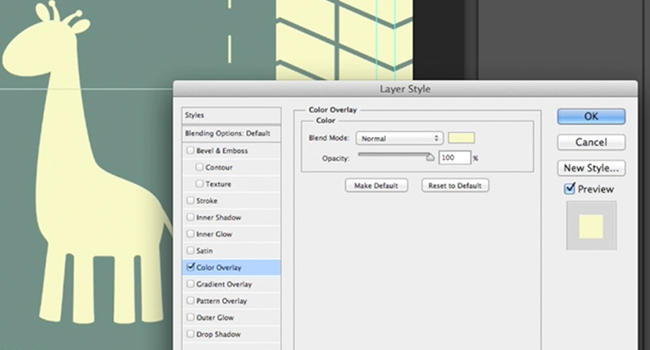
I’ve inserted a coloured silhouette of a cartoon giraffe, if you do not want a giraffe make sure you find a silhouette of another animal in a PNG format so it doesn’t have a background. You can change the colour of these images by right clicking on it’s layer and selecting Blending Options. In Blending Options go to Color Overlay and select the colour you want.
Now to write the rest of the text for the front. Using the text tool we are going to create straight text for the bottom of the badge. Set the alignment to centre and try to justify the text so it fits the circle nicely.
Flip It
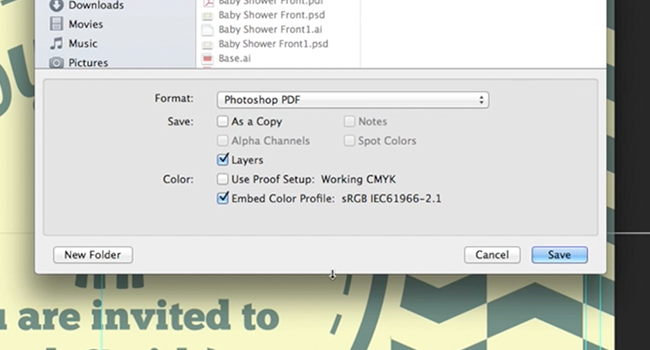
Now we’ll move onto the back, but first we need to save the front. Save the front as both a PSD (Photoshop Document) and a PDF (Portable Document File). Once you’ve saved both, reopen the PSD version then Save As under the name for the back of your invitation. Now you can delete all the layer of the front of the invitation, if you want to keep this background do not delete the layer.
Insert this side’s background by dragging it directly in from your Explorer or Finder window and insert the rectangular badge that is in the content pack. Again as an alternative you can choose to have a plain background but having a contrasting pattern creates a nice detail.
Add the text you need for the back, this would be more intricate details like the address, date and times. In this design it’s also contrasting with the colours on the front.
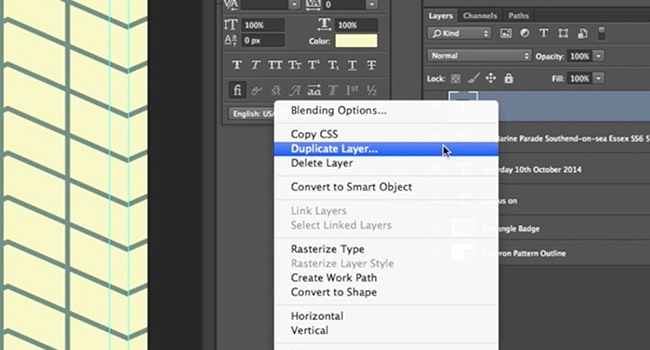
For a little more detail, add animal silhouettes on the back mirroring each other. To do this duplicate the first layer by right clicking and selecting Duplicate. Then with your copied image select Edit > Transform > Flip Horizontal and place it so it’s parallel with the other side.
Once your done save the back as a PSD and a PDF.
Finished – Let’s Print It & Party!
Now you have a cute and cool invitation to your baby shower, get ready to eat some baby food and receive lots of free stuff from your friends and family.


This is excellent for a crafter like me who is a bit scared of Photoshop. Thanks.