
Learn how to design a brochure in Adobe Photoshop with our expert, easy-to-follow video tutorial…
This video is part of our Adobe Creative series of design tutorials. Please make sure to subscribe to the Solopress YouTube channel so you don’t miss out on future guides!
How To Design A Brochure
On the Solopress website, in the Free Artwork ‘Templates’ section under A4 Letterheads, click and download the (PS) Photoshop Template 297mm by 210mm.

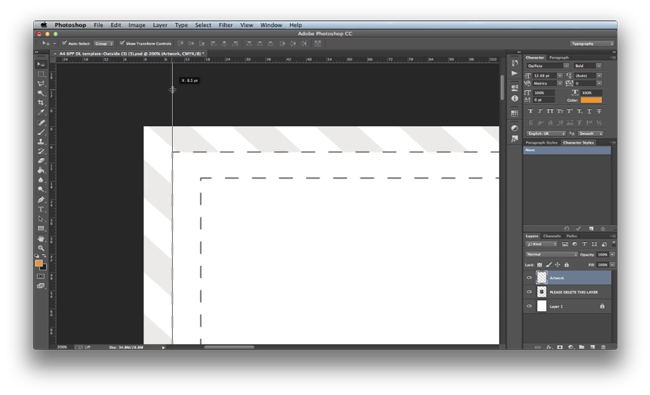
Bleed, Trim, Safe Area
Open up the Photoshop file. We have created a guide layer that will help you to design your brochure – this includes the Bleed Area, Trim and Safe Area.
Bleed Area – Anything here will be trimmed off, but remember to extend any colouring or images into this 3mm bleed area to avoid white lines appearing during the print finishing stages.
Trim – Your job will be cut on the solid black line, any images or text placed in this 3mm area may be trimmed off incorrectly.
Safe Area – Keep all your information inside the white area. Remember to use high-resolution images (300dpi) for the best results.
Create a new guide by clicking and dragging on the vertical and horizontal Ruler (if your Ruler does not appear in Photoshop press Command + R). Create 4 new guides on the safe area line.
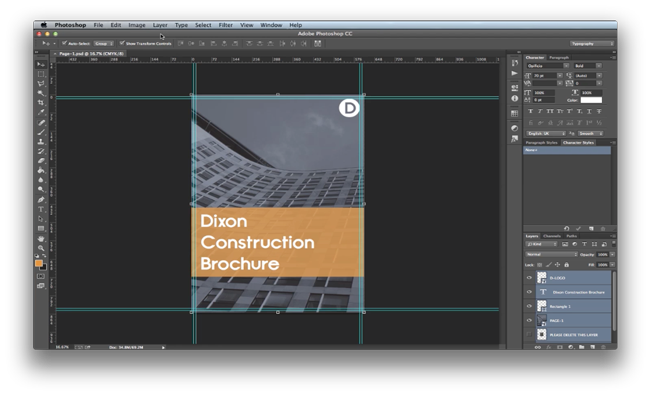
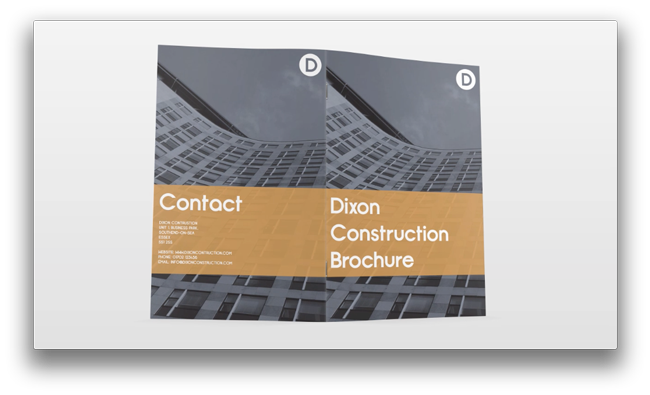
Page 1 (Front Page/Cover)
In the Layers window hide the Guide Layer Only refer to this layer to check your design fits within the Safe Area and make sure any colouring or images extends beyond the Bleed Area.
To import your background in the top menu heading go to File, Place Embedded, locate your file(s) and select Place. Adjust the size and position. Select the Tick to confirm the action.
To create the background image, import and adjust the size. In the top menu heading, go to Layers, New Adjustment Layer and select Hue & Saturation. A properties panel will appear, this is where you can adjust the Hue, Saturation and Lightness. You can also Colourise the image. Select the Colourise option, and pull down the Saturation to 11. Change the Lightness to -21 and adjust the hue to 210. Adjust your settings to suit your design; we have chosen a greyish blue, we want to keep the design simple so it does not stand out.
Keep It Simple – With all the latest design trends having a simple and minimal design with set themed colours will have your brochure looking smart and professional. Now save your design and begin on the next page.
Select the rectangle tool, drag and create a header for your text. (We have preselected the rectangle colour, to do this; make sure the rectangle tool is selected and in the top menu options will appear for you to change the colour). In the Layer window, select the Opacity and set it to 80%, the rectangle will now become slightly transparent.
Select the text tool and change the font setting in the top menu. Type the Brochure Name, and adjust the position and size of the text, adjust the header box too if needed.
We will now import our logo to the front cover. Using the same steps as before, place and embed the logo and adjust the size and positioning. We have positioned our logo in the top right hand corner.
We will now duplicate the page, this helps when you are creating a similar image, all the layers will be as they were in the previous image. Remember to save your document by going to the top menu, File Save as, and save the document in your desired location. Select all the layers in the Layer Window and in the top menu, go to Layer and select Duplicate Layers. A pop window will appear asking where you want to move the layers. Under the Document, Select New, Name the new Page and select OK.
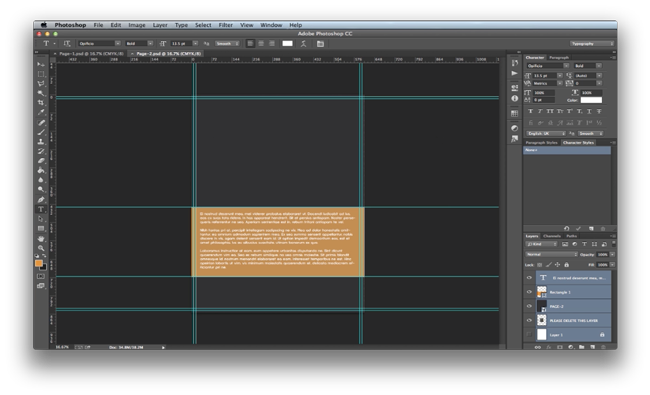
Page 2
Apply the same set up guides as before; hide the all the extra layers by clicking off Eye icon in the Layer Window. Import your background (we have chosen a solid colour for this page).
In the layers window, turn on the Rectangle Layer. Using the text tool, write your information within the orange box and adjust the font’s size and position. The text we are using is called Lorem Ipsum. Loren Ipsum is a filler text used to demonstrate the graphic allowing viewers to focus on graphic aspects such as font, typography and page layout.
Save and duplicate the image creating a new page.
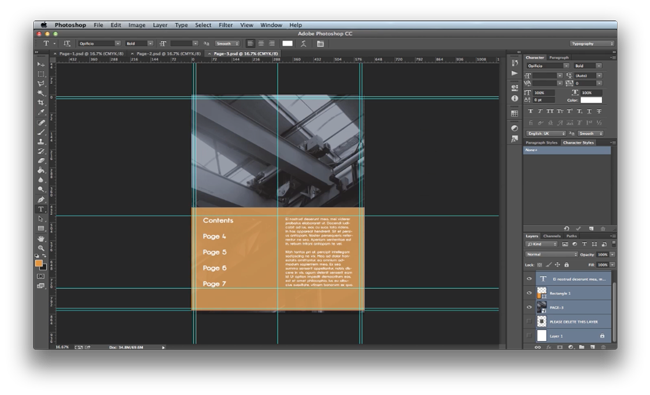
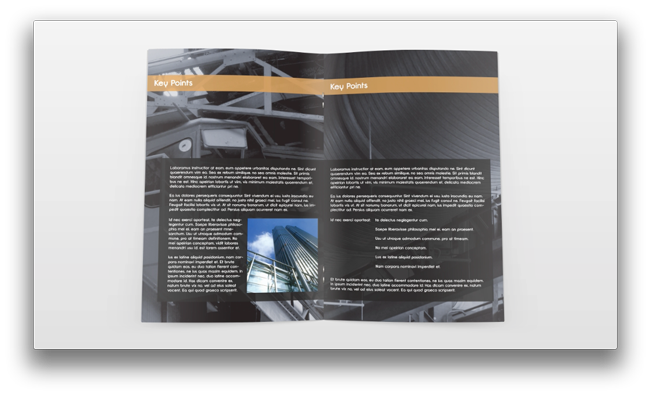
Page 3
Apply the same set up guides as before and Import your background. In the layers window, turn on the Rectangle Layer and make the Rectangle size bigger. With the Rectangle selected, drag a Guide Line from the Ruler and position the guide in the middle, the guide should snap to the boxes anchor point. If yours does not snap to, in the top menu select View and make sure all Snap setting are set to on (Tick). This will help you align your text on the document.
Using the text tool, type your information within the orange box and adjust the font’s size and position. Create a new box and add the Contents page information.
Save and duplicate the image creating a new page.
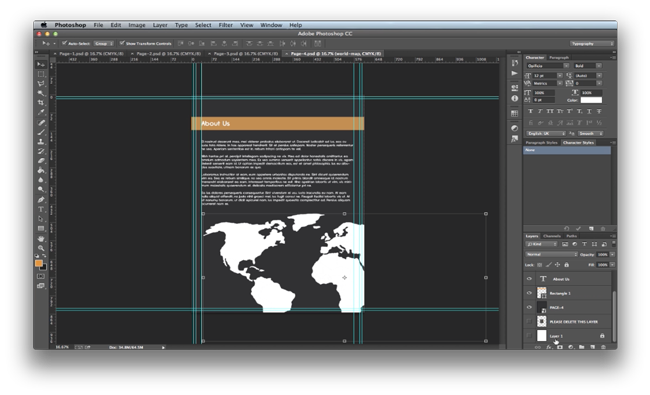
Page 4
Apply the same set up guides as before; hide the extra layers by clicking off Eye icon in the Layer Window. Import your background (we have chosen a solid colour for this page).
Create a new Rectangle and make a small header box positioned towards the top of the image. Make sure the opacity is set to 80%.
Using the text tool, type the header name within the orange box and adjust the font’s size and position. Using the text tool again, type your information below the orange box and adjust the font’s size and position.
Import a new image, we have chosen a world map. We have made sure that all our icons and a vector images are set to PNG. This file format allows the background (which is usually white for JPEG images) to be transparent.
Save and go back to the Page 3 (Contents Page) duplicate the layers creating a new page.
Page 5
Apply the same set up guides as before and import your background.
Turn on the Rectangle Layer. Using the text tool, type your information within the orange box and adjust the font size and position.
Save and duplicate the image creating a new page.
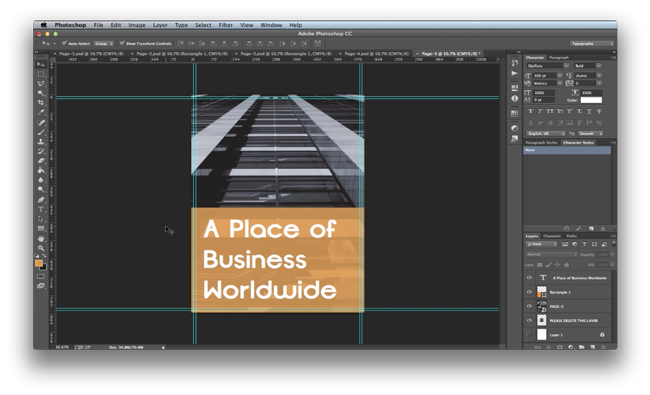
Page 6
Apply the same set up guides as before and import your background.
Create a new Rectangle and make a small header box positioned towards the top of the image. Make sure the opacity is set to 80%. Using the text tool, type the header name within the orange box and adjust the font’s size and position.
Create a new Rectangle and make a new background box towards the right hand side of the screen. Use the guides to help your position the text. Place and embed an image with the extra space.
Save and duplicate the image creating a new page.

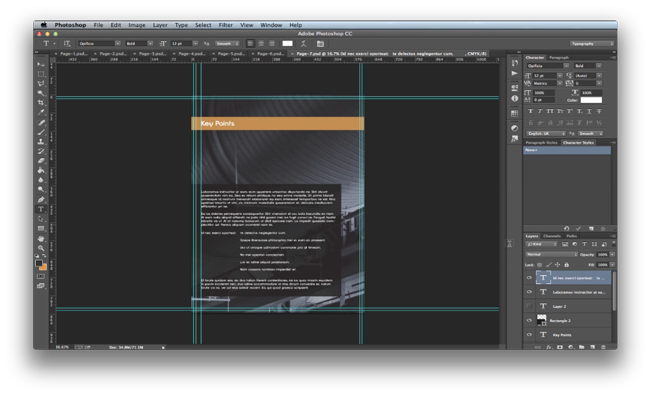
Page 7
Apply the same set up guides as before create the same layout as the previous page, move the big box towards the left hand side of the screen. Add all your information within the boxes. Use the guides to help your position the text. As a final result this page and previous page will match up together when printed.
Save and going back to the Page 1 (Front Cover) duplicate the image creating a new page.
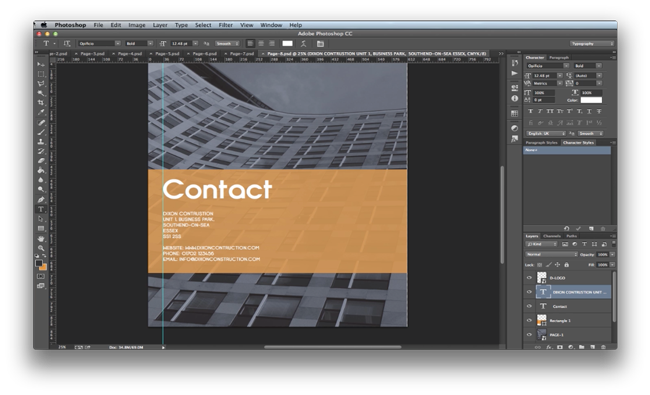
Page 8
Apply the same set up guides as before create the same layout as the Front Cover. Using the text tool add in your contact information within the orange box.
You have now created your brochure. Another useful tip: Try having all or most of your information ready before starting the brochure, this will help when choosing the font size and spacing.
And that’s how you design a brochure in Adobe Photoshop!
If you have any comments or questions regarding designing a brochure, please use the comments section below and we’ll do our very best to answer your queries.
Thank you for watching our video tutorial.


This was useful. What’s the maximum number of pages that you can print in a book, please?
I’m planning an anthology of short stories and poetry. Would your staff help wet the manuscript up?
For a project of 100 pages, what is the approximate cost?
For a book project of 150 pages, what is the approximate cost?
Do you provide ISBN’s?
Thanks for your help.
Great tutorial, there’s very little you can’t do with Photoshop if you know how!
This is a really helpful guide to doing new things in PS. I taught myself basic image editing and how to make gifs, but this will be great.
Great advice as I can’t seem to get the software I’ve got do what I want