Proof Checking Guide
This guide discusses the checks you should make when proofing artwork before it goes to print. For further practical tips about the process of uploading and approving your artwork, take a look at our Support Guide for the Solopress Online Proofing Tool.
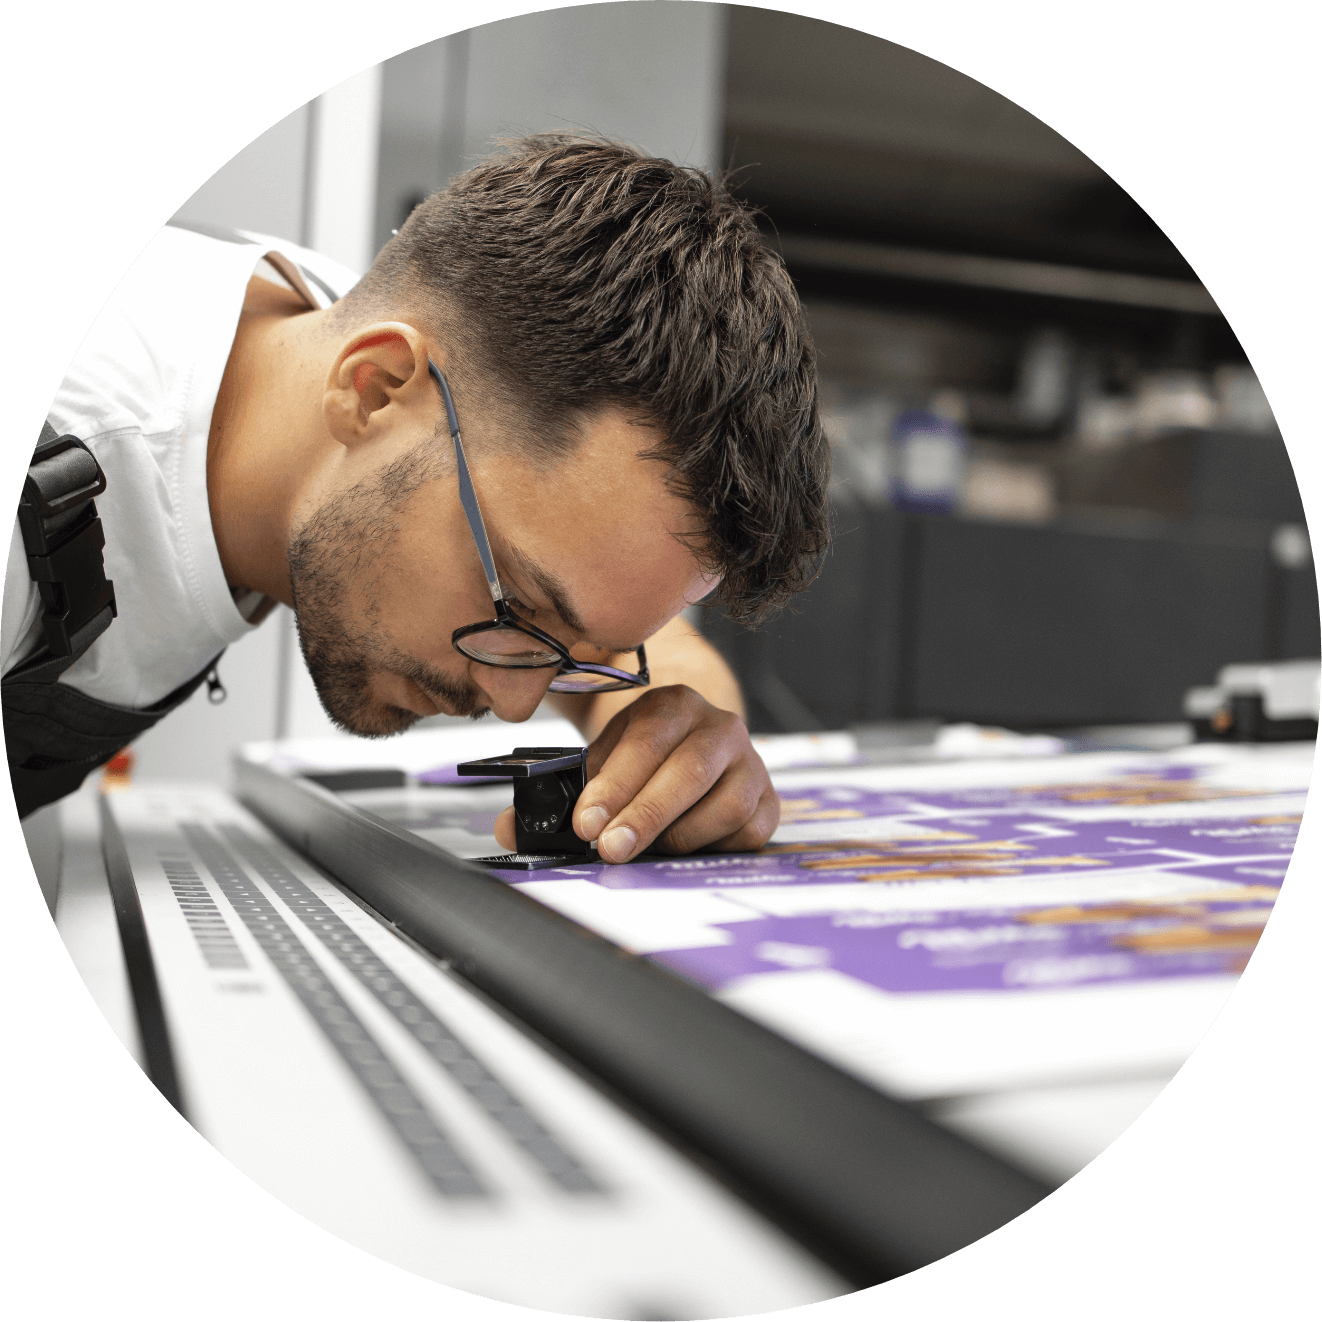
Checking the proof
When you upload artwork for us to print, our automated Online Proofing Tool runs a series of checks and presents the artwork back to you as a proof for your approval. Likewise, if you’ve worked with one of our Design Team, they’ll submit their work to you for approval before it gets sent to print.
At this point, you’ll have an opportunity to run some final checks over your design. It’s your last chance to make sure that it looks how you want it to and that it’s entirely free of errors and omissions.
It's vital that you check all elements thoroughly at this stage, as Solopress can’t be held responsible for any errors present in an approved proof. To help you know what to look out for, we’ve compiled this guide with advice on how to check your proof.
Key areas to check
The checks that you perform before approving your artwork need to take into account content, design and quality. For that reason, we recommend checking:
Text
Spelling, grammar and punctuation
Making a simple typo can appear unprofessional and prove expensive to put right. Avoid embarrassing and wasteful mistakes by checking and double-checking any text for spelling, grammar and punctuation errors.
It’s especially difficult to spot errors in copy you’ve written yourself, so it’s a good idea to get someone else to check it over too. Using a tool like Grammarly, or even pasting your copy into MS Word and letting the spell checker do its thing, can help you pinpoint errors.
There are occasions when our designers will need to retype sections of text that appear as part of your design. For this reason, you should proofread all text both before and after you submit artwork to make sure no errors have crept in.
Details
Read through and verify that all the information you want to include appears correctly in your design. For example:
- Contact details. Are the address, email and telephone details up to date and correct?
- Promoting an event. Is the time, date and location stated correctly?
- Product Packaging. Has the barcode been checked?
- Business Stationery. Have you included a VAT number and registered address?
- Election campaign material. Have you included an imprint that conforms to the Electoral Commission guidelines?
Size
Ensure that all the text included on your print is the size you expect it to be. Beware of common pitfalls like getting a false impression by viewing a proof at 200% zoom. If possible, try to view the proof you're sent at exactly the final printed size, to check all text is clear and legible.
Font
Fonts can behave strangely when converted between formats or transferred to between users. They may revert to a default typeface, or even disappear altogether! For handy tips on how to avoid these pitfalls, read our guide to fonts. Sufficed to say, it’s important to check the fonts on your proof to make sure they match your original artwork.
Resolution
Just because your artwork looks sharp on screen doesn’t necessarily mean it’ll be the same in print.
A typical computer screen displays at 72dpi (dots per inch), while commercial print is reproduced at a much higher 300dpi. Because of this, you’ll have to zoom in 400% to check that your artwork doesn’t appear grainy or pixilated.
You can learn more about resolution in our Resolution Guide.
Images
If your design includes logos, graphic elements or photographs, these should be checked individually to make sure they all appear as they should.
Even when the rest of your design is high-res, if an imported element is poor quality, that will show through in the final print. Try to make sure logos and photos match the resolution of the rest of your design.
When using stock photography, it’s also a good idea to check there’s no watermark lurking in the background (and of course, make sure you have permission to use any imagery you include!)
Colour
It’s a good idea to prepare any print-ready artwork in the CMYK colour mode to maintain a good sense of how your colours will turn out.
If you upload an RGB image, we’ll have to convert it to CMYK to create a print-ready proof. In this situation, make sure you check the proof to make sure you’re happy with any colour shifts that may have occurred as a result of the conversion.
For more information on the differences between RGB and CMYK and what that means for your print, take a look at our Colour Guide.
Edges
Make sure you pay close attention to how your design will be trimmed, and how that will affect the appearance of your final product.
While modern equipment trims with a high degree of accuracy, it’s standard practice for printers to request artwork with a 3mm bleed area around the outside. This is in case the cutter strays outside the trim line. Similarly, printers recommend that all essential graphic and text elements should be contained within a safe area that’s 3mm inside the trim line, in case the cutter strays inside the trim line.
This practice has implications for graphic elements such as borders and shapes that run close to, or off the edge, of your design. For example, a border that doesn’t extend right to the edge of the bleed area might appear with a sliver of white card on its outside edge. A border that doesn’t extend within the safe area may not appear at all. Check out our Bleed Guide for more details on how to manage the edges of your design.
If your item has folds or perforations, make sure no Spot UV or Foiled areas run across these lines, or the special varnish used in these finishes may flake off. For more information on preparing artwork with Spot UV and Foil read our Spot UV Artwork Guide and Foil Artwork Guide.
Once it’s checked…
If you’ve made these checks and you’re happy to go ahead, make sure you approve your proof online or via email. Unfortunately, we’re unable to take artwork approval over the phone and we can’t send your job to print without your approval, so don’t miss out this vital step!
Need Help?
Following these guidelines ensures that there will be no delays with your printing. If you have any problem, please don't hesitate to call our team on 01702 460047 who will be more than willing to help.